- Top >
IMAP setup example for Windows 10 Mail App
Support for Windows Mail will end on December 31, 2024. After December 31, 2024, users will no longer be able to send and receive email using Windows Mail.
Outlook for Windows: The Future of Mail, Calendar, and People on Windows 11 (Microsoft)
You should use Webmail or other email software in the future.
Introduction
The contents shown in this manual have been confirmed to operate under the following environment.
OS: Windows10 Pro
Software: Mail Ver. 17.6306.2251.0 (standard app)
Procedure 1: Setting under Gmail
-
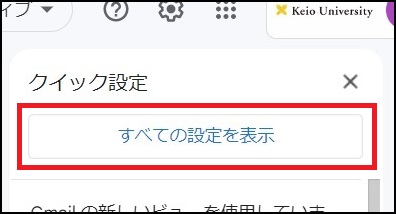
Log into Gmail, and then click the gear icon in the top right corner.

-
Click "See all settings".
-
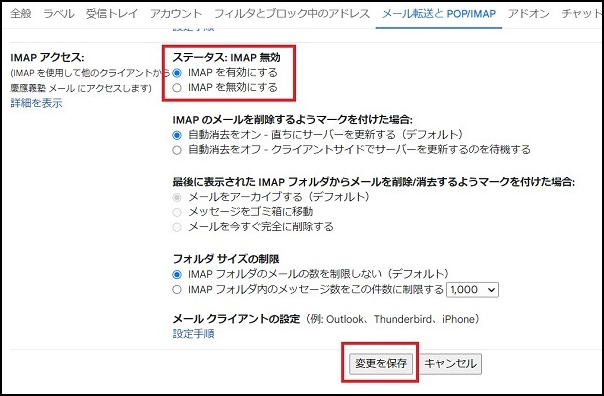
Click "Forwarding and POP/IMAP".

-
Turn on "Enable IMAP" in "IMAP Access", then click "Save Changes".
Procedure 2: Setting up in the Windows 10 Mail App
-
Click the tile in "Mail" in the start screen.。
Pressing the "Windows" key displays the start screen.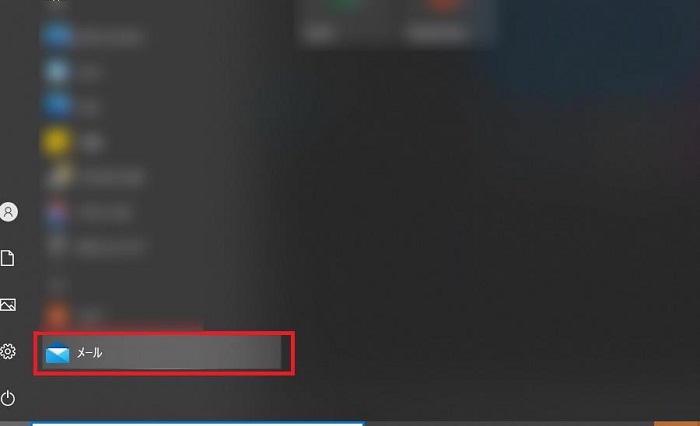
-
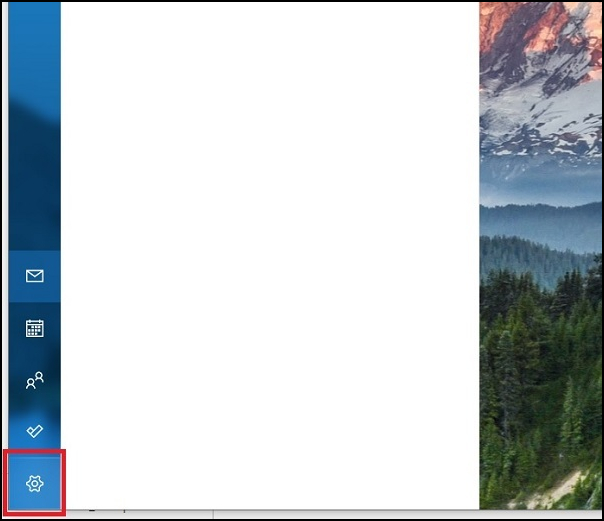
Click the gear icon in the lower left of the screen.
-
Click "Accounts".
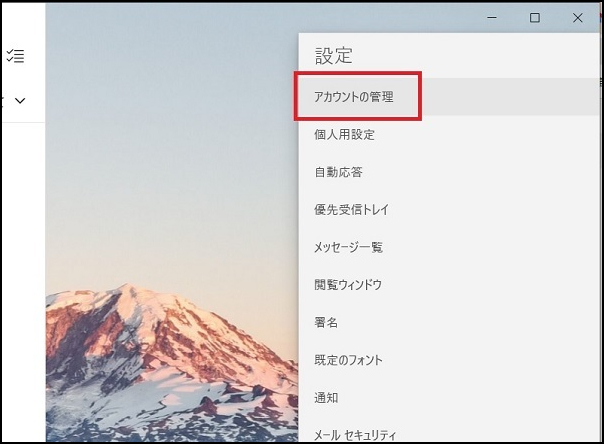
-
Click "Add account".
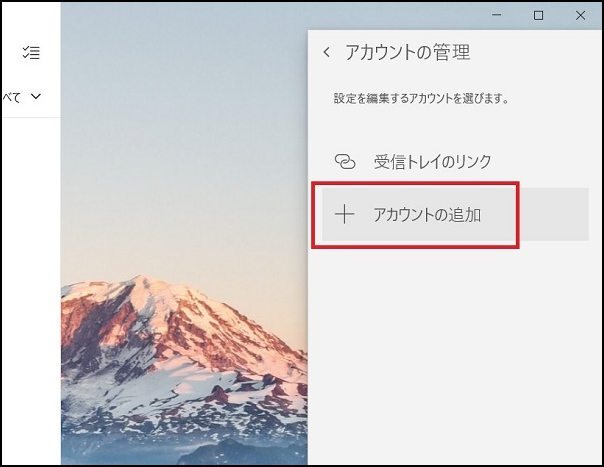
-
Click "Google".
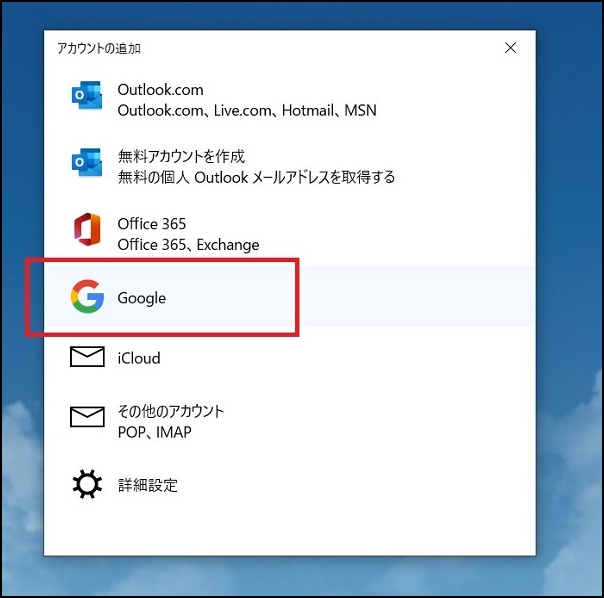
-
Enter your Keio ID (e.g., xx@keio.jp).
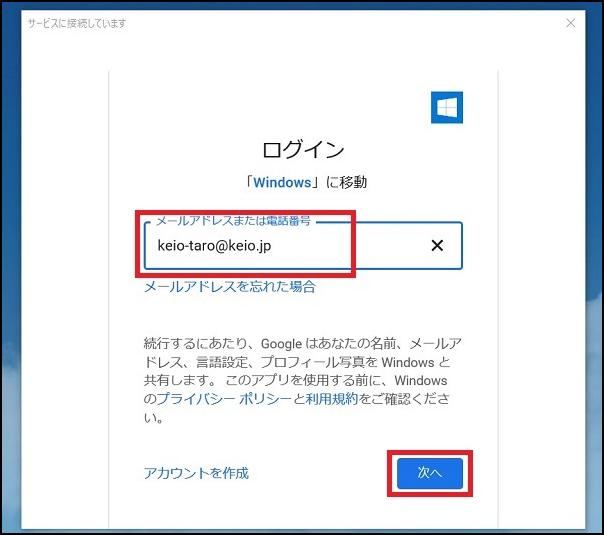
- When the keio.jp authentication screen is displayed, log-in with your own Keio ID.
-
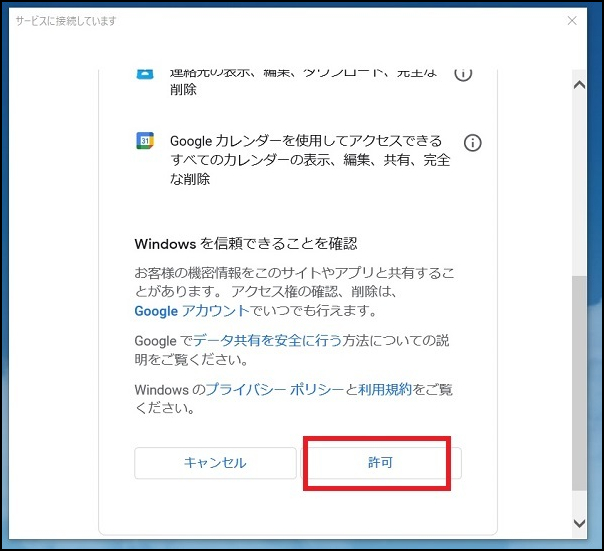
Click "Authorize".
-
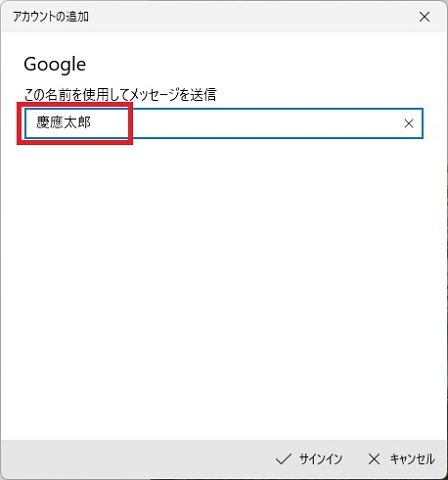
Enter sender name and click "Sign in".
-
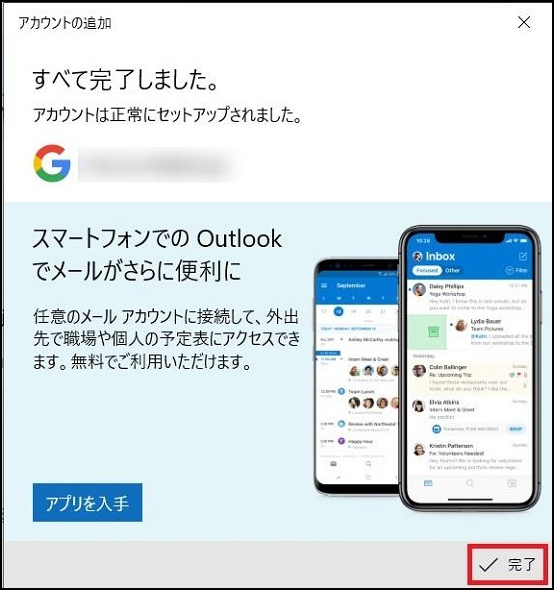
Click "Complete".
This completes the setup.
Perform an email send/receive test.
Revision History
2015/11/18: Newly prepared.
2023/06/26: SSO settings
Last-Modified: December 26, 2024
The content ends at this position.


