


Installing of a personal certificate(Chrome OS)
- How to connect to Wi-Fi (000000SFC)
- Download instructions for personal certificate and CNS root certificate
- Procedure for importing personal certificate and CNS root certificate
The following is an example for Chrome OS.
If you are already connected to a mobile carrier's network or a wireless LAN such as a mobile router, please follow the steps in "Download instructions for personal certificate and CNS root certificate".
How to connect to Wi-Fi (000000SFC)
-
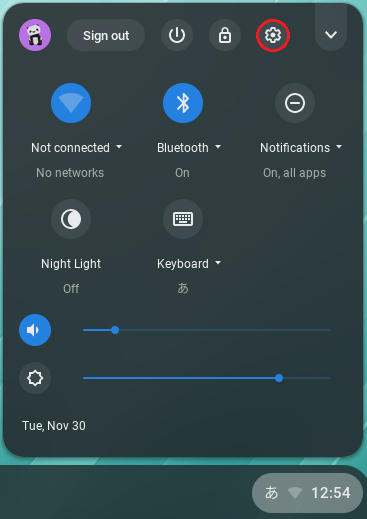
Open [Settings].
-
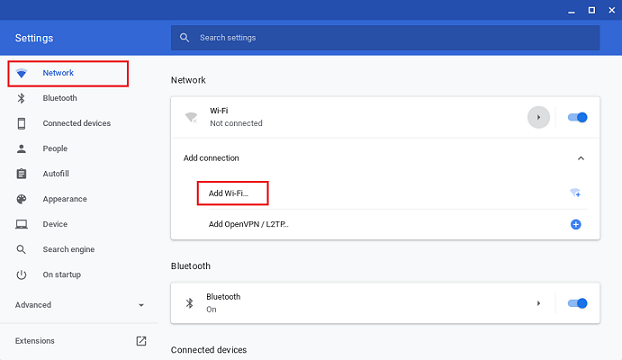
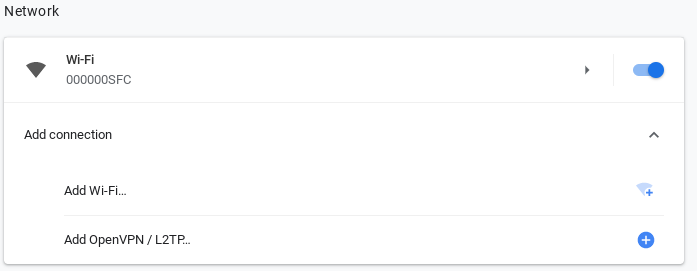
Click [Add connection] for the network, and then click [Add Wi-Fi].
-
When [Join Wi-Fi Network] appears, enter the following information and then click [Connect].
・SSID: 000000SFC
・Security: None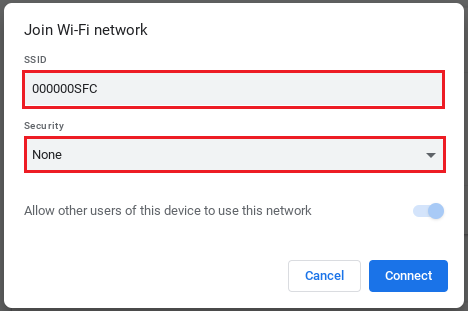
-
Verify that 000000SFC is displayed on the network. You are now connected to 000000SFC.
Procedure for downloading a certificate
-
Go to the following link to apply to use CNS, enter your CNS login name and password, and click [Start the Registration].
https://itcsecure.sfc.keio.ac.jp/wlan/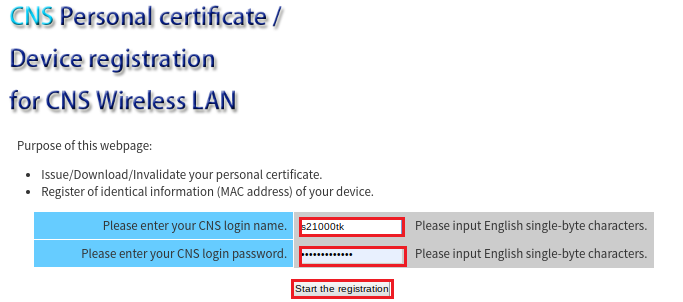
-
If you have not issued a personal certificate, select [issue] and click [Submit].
If you have already issued one, select [download] and click [Submit]. (The file will be saved in My Files > Downloads).
When the download is complete, click Logout in the upper right corner of the screen.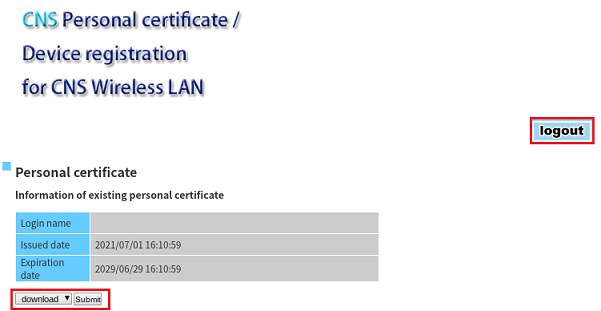
-
Next, click the link below to download the CNS root certificate named "KEIO_SFC_Root_CA_G3" (it will be saved in My Files > Downloads).
https://itcsecure.sfc.keio.ac.jp/downloads/files/KEIO_SFC_Root_CA_G3.pem -
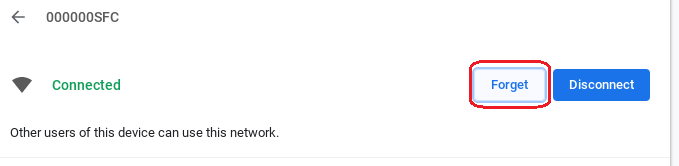
After the download is complete, you will no longer need to connect to the wireless LAN (000000SFC), so delete the setting.
If you are not connected to the wireless LAN (000000SFC), there is no need to do this. -
Open [Settings].
-
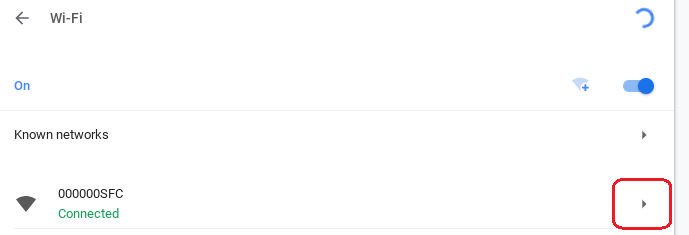
Click the [►] button to the right of 000000SFC under Network.

-
Click the [►] button to the right of 000000SFC.
-
Click [Forget].
Procedure for importing personal certificate and CNS root certificate
Import the CNS root certificate that you downloaded in the previous step into your Chromebook.
-
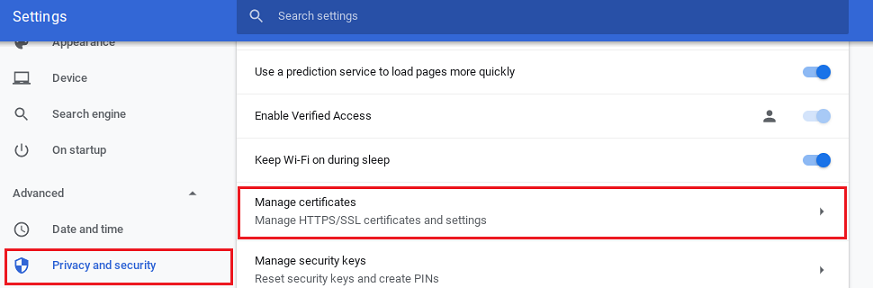
Open [Settings], click [Privacy and security], and then click [Manage certificate].
-
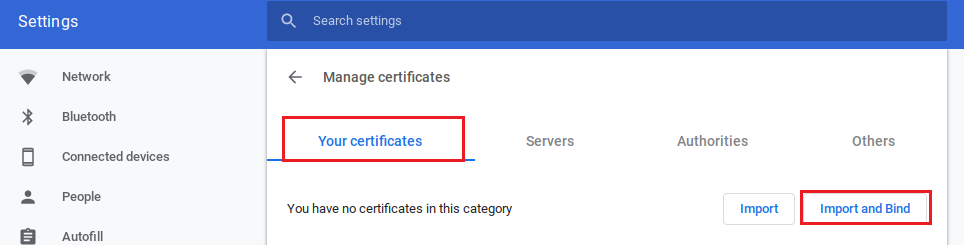
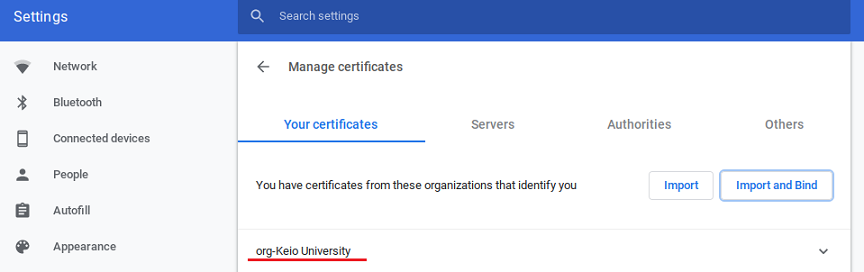
Click [Your certificate]、and then click [Import and Bind]
-
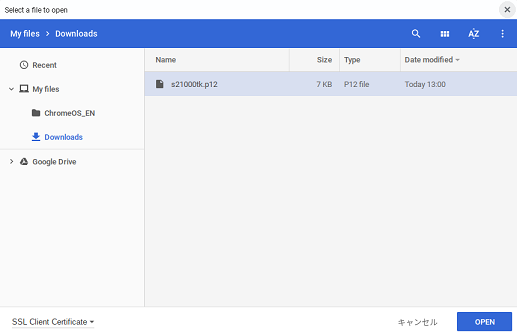
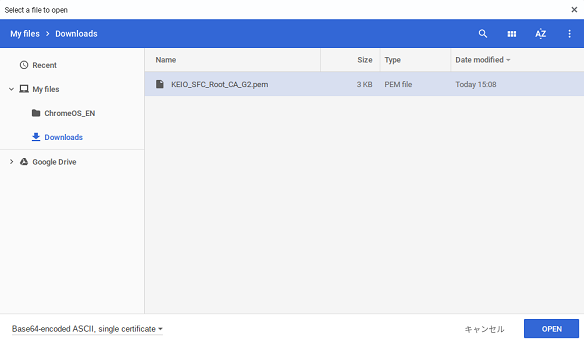
When the [Select a File to Open] screen appears, select the personal certificate you just downloaded (file name: "Login Name.p12") and click [Open].
-
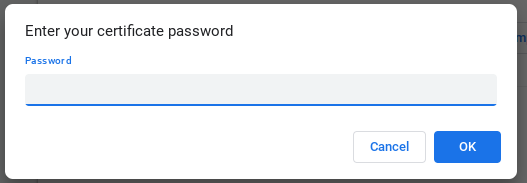
Enter the passphrase that you entered when you issued your personal certificate.
-
A user certificate named [org-Keio University] will appear in the list.
-
Next, import the CNS root certificate.
Click the [Authorities] tab, and then click [Import].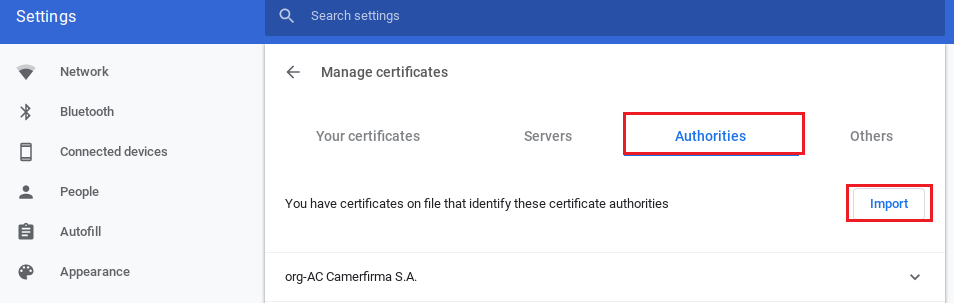
-
Select the CNS root certificate you just downloaded (KEIO_SFC_Root_CA_G3.pem) and click [Open].
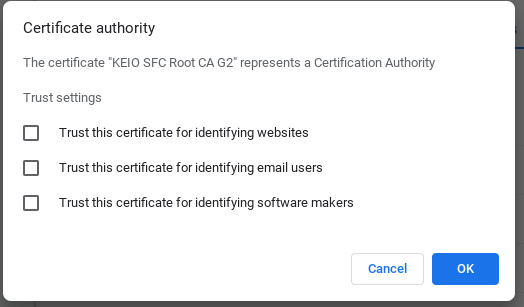
-
Click [OK] without checking any checkboxes on the Trust Setting screen.
-
As in the previous step, make sure that [org-Keio University] is displayed in the list, and if it is, it has been imported.
-
This completes the importing process. Next, please proceed to the connection procedure.
Last-Modified: January 20, 2026
The content ends at this position.